Bringing a new baby home is an incredible milestone, but it doesn’t take long for that stationary bundle of joy to transform into a hyper-mobile, fiercely curious explorer. To an infant or toddler, your house isn’t a collection of rooms—it’s an obstacle course filled with fascinating things to pull, chew, open, and climb.
True home safety isn’t a one-and-done weekend project. It’s an evolving strategy that changes as your child hits new developmental milestones.
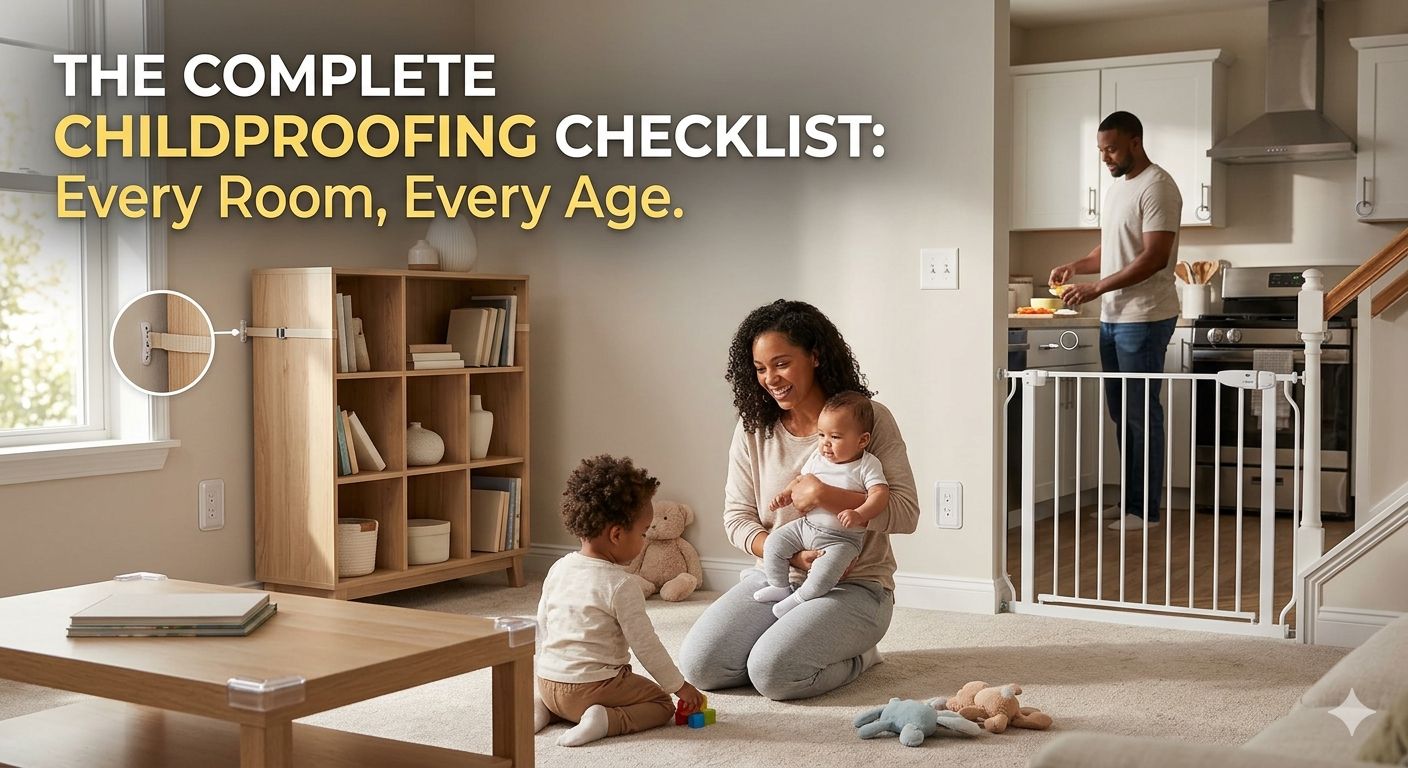
This complete, room-by-room, age-by-age childproofing guide will help you stay three steps ahead of your little explorer.
Childproofing by Age: The Developmental Milestones
Before diving into individual rooms, it helps to look at your home from your child’s current developmental perspective.
Phase 1: The Newborn (0 to 5 Months) — “The Prep Phase”
They aren’t moving on their own yet, but this is the ideal window to lay the groundwork before sleep deprivation and frantic crawling schedules take over.
-
Focus on: Nursery setup, sleep safety, and installing heavy-duty foundation items like smoke/CO detectors.
Phase 2: The Crawler & Scooter (6 to 11 Months) — “The Eye-Level Explorer”
Suddenly, everything below two feet is fair game. Babies at this stage explore the world with their mouths and hands.
-
Focus on: Outlets, sharp furniture corners, low cabinets, dangling cords, and blocking off staircases.
-
Parent Tip: Get down on your hands and knees. View your living room from your belly to spot hidden hazards like loose coins, stray dust bunnies, or exposed wires.
Phase 3: The Toddler & Climber (12 to 24 Months) — “The Jailbreaker”
Walking turns into running, and pulling up turns into climbing. Toddlers have the strength to pull heavy objects down and the dexterity to turn doorknobs.
-
Focus on: Anchoring heavy furniture, securing windows, blocking off the kitchen stove, and locking doors to off-limit areas.
Phase 4: The Preschooler (2 to 5 Years) — “The Mastermind”
They can now mimic your actions, open basic latches, and might try to use chairs as step stools to reach high places.
-
Focus on: Storing medications/chemicals under literal lock and key, firearm safety, water safety, and switching to digital/magnetic locks that require adult coordination.
The Room-by-Room Childproofing Checklist
Here is exactly what you need to secure every zone of your home, along with the essential safety gear to get the job done.
1. The Living & Family Rooms
The living room is where your family spends the most time, meaning it requires the highest concentration of preventative safety gear.
-
[ ] Anchor Heavy Furniture: Bookcases, dressers, and entertainment units can easily topple if a toddler pulls out the drawers to use them as a ladder. Use heavy-duty anti-tip furniture straps to secure them directly into wall studs.
-
[ ] Mount or Secure TVs: Flat-screen TVs are top-heavy. Wall-mount your television out of reach or use specialized TV safety straps to anchor it to the console.
-
[ ] Soften Sharp Edges: Coffee tables, hearths, and low shelves with sharp corners are magnet zones for head bumps. Apply clear adhesive corner guards or foam bumper strips along the perimeter.
-
[ ] Cover All Outlets: Standard plastic outlet plugs can sometimes be pried out by older toddlers (and become choking hazards themselves). Opt for sliding outlet covers that automatically snap shut when a plug is removed.
-
[ ] Manage Electrical Cords: Keep power strips hidden inside a cable management box and secure long dangling wires to baseboards with cord covers.
2. The Kitchen
The kitchen is arguably the most hazardous zone in the house due to heat, sharp objects, and toxic chemicals.
-
[ ] Lock the Cabinets & Drawers: Store all cleaning pods, chemicals, and dishwashing detergents in upper cabinets. For lower cabinets containing pots or pantry items, install magnetic cabinet locks (which are invisible from the outside and require a magnetic key to open).
-
[ ] Protect the Stove: Use heat-resistant stove knob covers so little hands can’t accidentally turn on the gas or burners. When cooking, get into the habit of using the back burners and turning pot handles inward.
-
[ ] Secure Major Appliances: Install heavy-duty latch locks on the refrigerator, oven, and dishwasher doors to prevent trapped fingers or accidental openings.
-
[ ] Ditch the Tablecloths: A dangling tablecloth is an open invitation for a crawling baby to pull everything—including hot coffee or heavy plates—right down onto their head.
3. The Nursery & Bedrooms
Your child’s bedroom should be a “safe zone” where they can theoretically be left unattended for brief periods without risk.
-
[ ] Keep the Crib Bare: To prevent suffocation, follow the ABCs of safe sleep: Baby sleeps Alone, on their Back, in a bare Crib. Skip the plush bumpers, heavy quilts, pillows, and stuffed animals. Use a tight-fitting crib sheet and a wearable sleep sack instead.
-
[ ] Lower the Mattress Early: As soon as your baby can sit up or pull themselves up to a standing position, lower the crib mattress to its lowest setting to prevent them from tumbling over the rail.
-
[ ] Position Baby Monitors Safely: Keep video monitors and their power cords at least 3 feet away from the crib. Dangling monitor cords are a major strangulation hazard.
-
[ ] Check the Toy Box: Ensure toy chests are either open baskets or equipped with safety-lid support hinges that prevent the heavy lid from slamming shut on small hands or heads.
4. The Bathroom
Water and medications make the bathroom a critical safety zone.
-
[ ] Install a Toilet Lock: Toddlers are top-heavy and intensely curious about flushing water. A simple flip-up toilet seat lock prevents accidental drowning risks and keeps unwanted toys from being flushed.
-
[ ] Guard the Bath Spout: Cover the hard metal tub faucet with a soft, silicone bath spout cover (usually shaped like a whale or elephant) to protect against accidental head bumps during bath time.
-
[ ] Check the Water Temperature: Set your home’s hot water heater to a maximum of 120°F (49°C) to prevent accidental scalding. Use a digital bath thermometer to ensure bath water sits safely between 96°F and 100°F.
-
[ ] Lock Up Personal Care Products: Medicines, vitamins, mouthwash, and cosmetics should be locked away in a high cabinet—never left on the sink counter.
5. Hallways, Stairs, & Windows (The Flight Risks)
Structural elements of the house require high-quality physical barriers.
-
[ ] Use the Right Safety Gates:
-
Top of the stairs: Always use a hardware-mounted safety gate screwed securely into the wall studs. Pressure-mounted gates can fail if a child leans or pushes hard against them.
-
Bottom of the stairs / Doorways: A pressure-mounted gate is perfectly acceptable here.
-
-
[ ] Secure the Windows: Screens do not stop a child from falling out of a window. Install window guards or adjustable window stops that prevent windows from opening more than 4 inches.
-
[ ] Eliminate Blind Cords: Looped window blind cords are a high-level strangulation hazard. Switch to cordless window coverings where possible. If renting, install blind cord winders high up out of reach to keep strings completely taut and away from the floor.
-
[ ] Add Door Pinch Guards: Use foam finger-pinch guards on frequently closed doors to prevent painful slammed fingers.
2 Non-Negotiable Whole-House Safety Rules
Beyond the plastic latches and safety gates, every home with children must establish these baseline safety protocols:
-
The Toilet Paper Roll Test: If an object or toy can fit entirely inside an empty toilet paper roll, it is a choking hazard for children under 3 years old. Keep a close eye on small toys belonging to older siblings.
-
Double Up on Alarms: Install smoke detectors and Carbon Monoxide (CO) detectors on every single level of your home, right outside bedroom areas. Test them monthly and swap the batteries every six months.
Peace of Mind is Worth the Prep
Childproofing can feel like a daunting task, but breaking it down room by room makes it incredibly manageable. By securing your space before your little one hits their next big milestone, you create a safe “yes environment” where they can freely play, learn, and grow—and you can take a well-deserved breath.